


REZERVASYON MU
YAPTIRMAK İSTİYORSUNUZ?
FORMU DOLDURUN
GOLDENBAHIS HOTEL'İN BENZERSİZ DOĞASINDA
YAŞADIĞINI HİSSET
Hayalini kurduğunuz lüks tatil, Goldenbahis Hotel’de sizi bekliyor. Büyüleyici doğası, iklimi ve koyları; eğlenceli performansları ve gösterileri; huzuru tattıran denizi, kumu; tatilinize lezzet katan eşsiz restoran ve barları; her anınıza keyif veren ayrıcalıkları; konforunuz için 10 farklı şekilde tasarlanmış odaları, seçkin bir ekiple tatilinizi unutulmaz kılacak hizmet anlayışıyla Goldenbahis Hotel’de, yaşadığınızı hissedin.
ODALAR & SÜİTLER


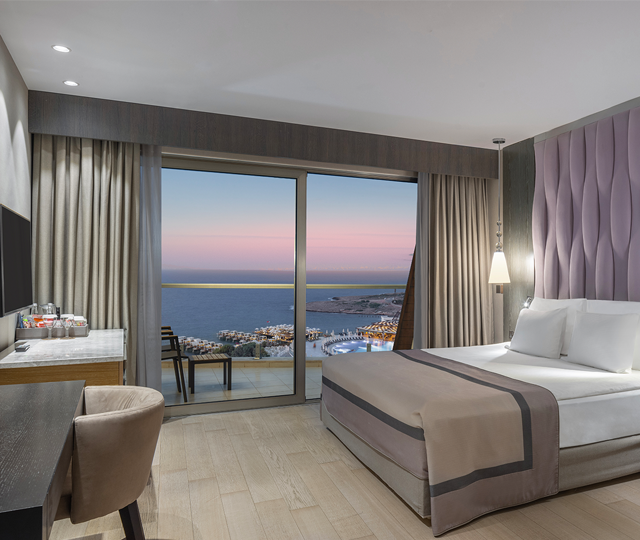
STANDART ODA
Konforu yaşamanız için ferah bir alan ve modern bir tasarım sunan Goldenbahis Standart Oda ile rahatlığı deneyimleyin. Dağ ve deniz manzarası seçeneklerine sahip Standart Odalarda; size en uygun alternatiflerin keyfini çıkarın.
İNCELE


DELUXE ODA
Yatak odası ve oturma alanlarını birbirinden ayıran basamaklı tasarıma sahip Goldenbahis Deluxe Odaları ile tatilinize konfor katın. Deniz ve dağ manzarası seçenekleri sunan Goldenbahis Deluxe Odalarında; size sunulan hizmetlerin tadını çıkarın.
İNCELE


AİLE ODASI
Konforu hissedeceğiniz, toplam 70 m2 büyüklüğündeki aile odasında, aileniz için düşünülen hizmetlerle huzuru tadın. İki yatak odalı, dağ veya deniz manzara seçeneklerine sahip GOLDENBAHIS Aile Odalarında, çocuklarınızla birlikte keyifli bir tatil geçirin.
İNCELE
CORNER DELUXE ODA
Tatilinizi lüks ve şıklıkla taçlandırmak için dizayn edilen Corner Deluxe Oda'nın ayrıcalığını deneyimleyin. Rahatlığınız düşünülerek tasarlanan Corner Deluxe Oda ile kendinizi huzura bırakın.
İNCELE
CORNER SÜİT
Size özel ayrıcalıklarla tasarlanan GOLDENBAHIS Corner Süit’in her köşesinde, muhteşem manzaranın keyfine varın. Konforu şıklıkla sunan GOLDENBAHIS Corner Süit ile; gündüz denizi, gece ise yıldızları izleyerek tatilinizi taçlandırın.
İNCELE


SUPERIOR SÜİT
90 m2 büyüklüğünde ki GOLDENBAHIS Superior Suit’in unutulmaz bir tatil yaşamanız için sunduğu hizmetlerle, seçkin deneyimler yaşayın. Eşsiz bir mimari tasarım ile rahatlığın uyumunu sunan Superior Suit’te, rüyalarınızdaki tatille buluşun.
İNCELE


LUXURY SÜİT
Akdeniz’in muhteşem kokusunu balkonunuza taşıyan GOLDENBAHIS Luxury Süit ile benzersiz bir mutluluğa adım atın. Her ihtiyacınızı en şık ayrıcalıklarla karşılayan Luxury Süit’te, kendinizi lüksün konforuna bırakın.
İNCELE


EXECUTIVE SÜİT
Executive Süit’te size özel anları, lüks seçeneklerle deneyimleyin. Sizin için, en ince ayrıntısına kadar düşünülen Executive Süit ile panoramik deniz manzarasının, jakuzinin ve özenle tasarlanmış mimarinin ayrıcalığını yaşayın.
İNCELE


PREMIUM SÜİT
Ahşabın yumuşak dokusuna sahip farklı tasarımı, oturma odası, geniş yatak odaları ve 3 banyosuyla size özel bir yaşam alanı sunan Premium Süitlerde kendinizi özel hissedin.
İNCELE


PRESIDENTIAL SÜİT
Akdeniz’e açılan balkonları, harika yatak odaları ve banyoları, panoramik manzarası, özgün mimarisi ve ferah yaşam alanlarıyla masalsı bir ihtişam... GOLDENBAHIS Presidential Süitlerde mükemmel bir tatil deneyimi yaşayın.
İNCELE


ROYAL GOLDENBAHIS SÜİT
Hak ettiğiniz lüks ve seçkin deneyimi, eşsiz hizmetlerle dilediğiniz gibi karşılayacak GOLDENBAHIS Royal Süit ile rüyalarınızdaki tatilden fazlasını yaşayın. Her köşesi size özel düşünülen GOLDENBAHIS Royal Süit, hep daha fazlası için sizi bekliyor.
İNCELEFIRSATLAR & KAMPANYALAR
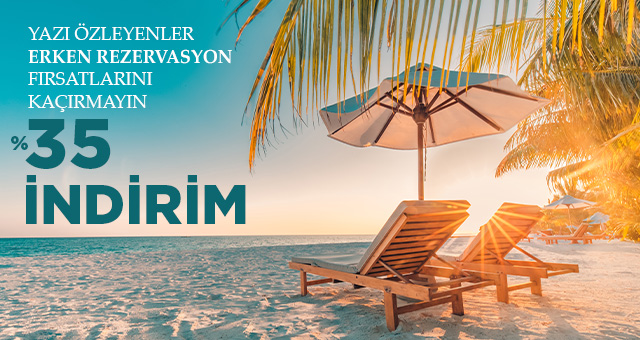
20 Nisan - 31 Ekim 2023 tarihleri arasında yapacağınız konaklamalar için geçerli %35 indirim fırsatı. Üstelik Bonuscard'a özel 12 ay taksitle ödeme imkanı ile...
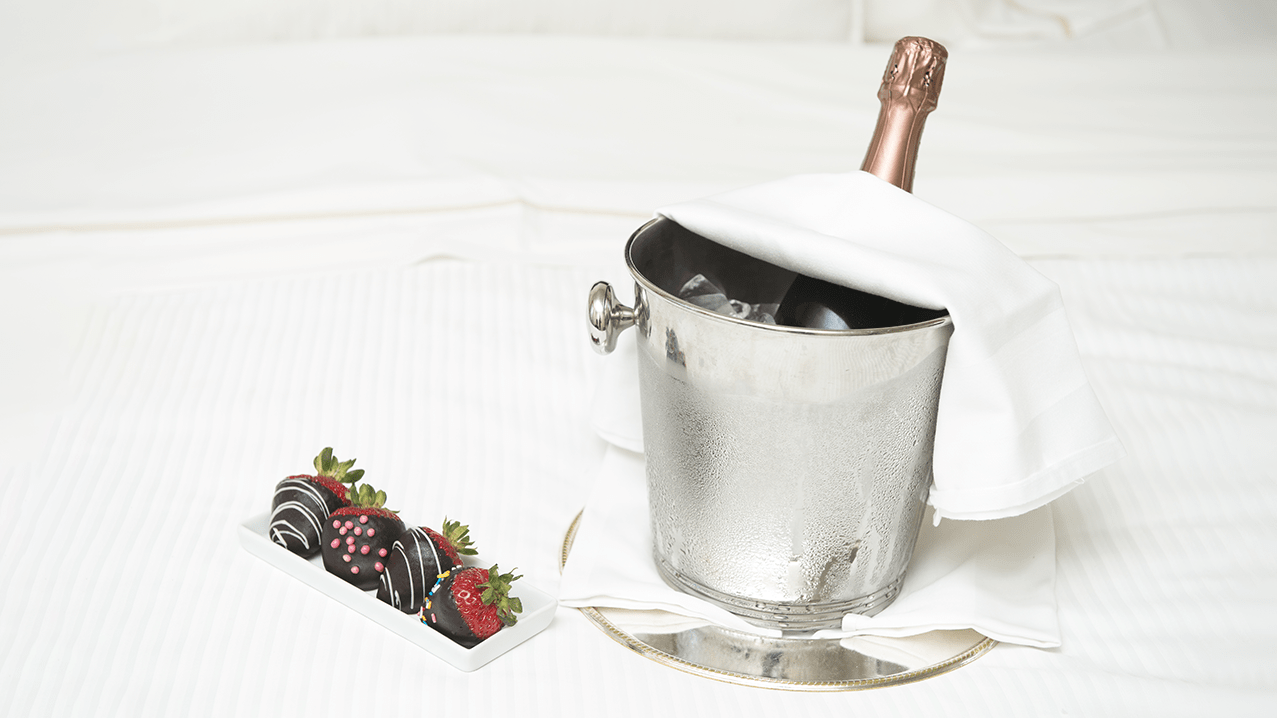
GOLDENBAHIS Silver Balayı paketi ile size özel sunduğu eşsiz olanaklarıyla unutulmaz bir balayı tatili yaşayın.
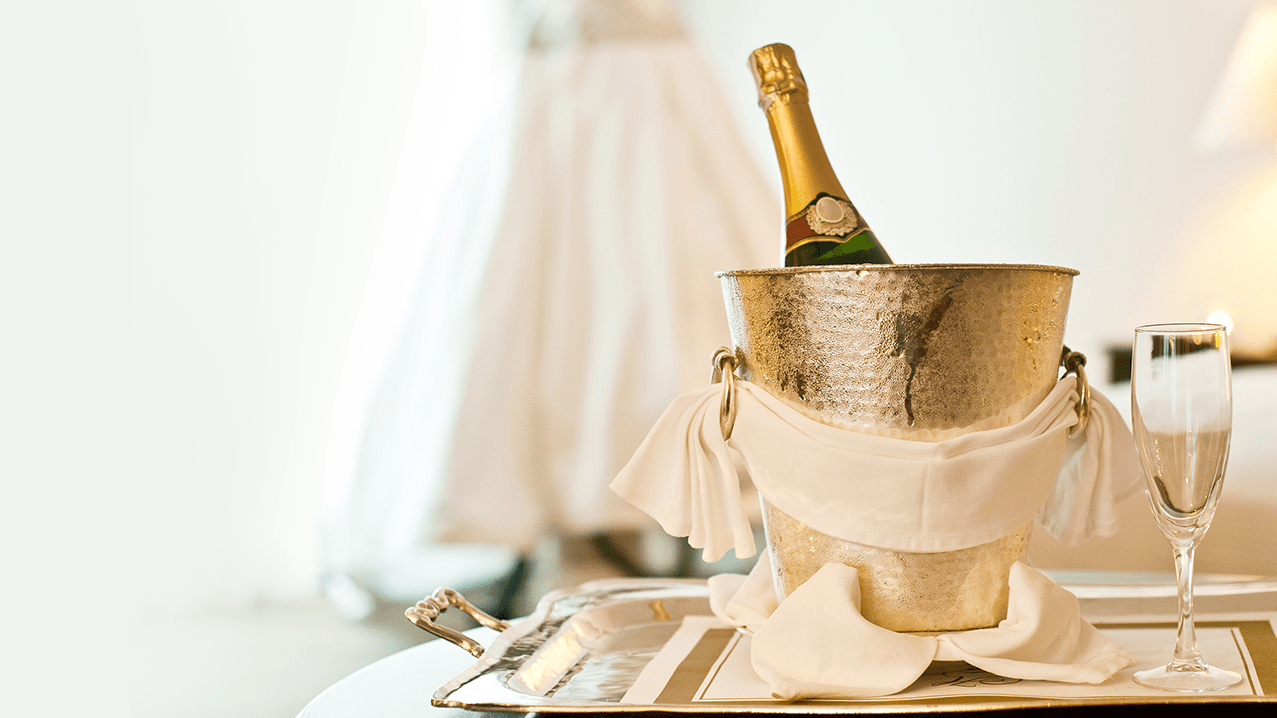
GOLDENBAHIS Gold Balayı paketi ile size özel sunduğu eşsiz olanaklarıyla unutulmaz bir balayı tatili yaşayın.

GOLDENBAHIS Diamond Balayı paketi ile size özel sunduğu eşsiz olanaklarıyla unutulmaz bir balayı tatili yaşayın.
ZOYA SPA & WELLNESS
Zoya Spa & Wellness’ın dinlendirici atmosferi ve size özel hizmetleriyle hem ruhunuzu hem bedeninizi yenileyin. Uzak Doğu esintisiyle harmanlanmış sakin bir ortamda, profesyonel sağlık ve bakım ekibinin deneyimiyle buluşun. Deniz manzaralı masaj odalarında veya kişiye özel jakuzili teras ve hamama sahip VIP odalarda konforu doyasıya yaşayın. İster Fitness Center’daki eşsiz doğa manzarasının tadını çıkarın, ister hamam, sauna, terapi veya buhar odasında dilediğiniz gibi rahatlayın. Tüm bu ayrıcalıkların yanı sıra; Zoya Spa&Wellness’ın geleneksel ve modern masaj türleri, cilt ve güzellik bakımları, detoks paketleri ve kişiye özel kürleri ile huzuru hissedin.
İNCELEGOLDENBAHIS HOTEL SİZİ BEKLEYENLER

Kendinize ait bir ortam ve VIP hizmetler sunan 4 veya 6 kişilik Pavilion’lar ile size ait iskeleden denize girin.

Meyan Restaurant’ta; leziz yöresel yemeklerin ve özel tariflerle hazırlanan ocakbaşı çeşitlerinin ve mezelerin tadını çıkarın.

Akdeniz’in taptaze ve birbirinden lezzetli deniz ürünleriyle Kaluga Restaurant’ta, Akdeniz’in kokusunu hissedin.

Mia Bar’da, güneşin parıltısıyla birlikte eğlenceye devam edin. Çeşitli içecek ve nefis atıştırmalıklarla anı yaşayın, tatilinizde özel hissedin.

Myoga Restaurant’ta; şeflerimizin eşsiz hünerlerini sergileyerek hazırladığı özel lezzetlerin tadını çıkarırken, Uzak Doğu esintisini hissedin.

Dünya mutfağının her gün, 24 saat zengin bir menü ve lezzetli tatlarla servis edildiği Bistro 24’te özel olduğunuzu hissedin.


